Hello, I'm JUYAL AHMED!
Laravel, CakePHP & Symfony Backend Expert
I build performant web apps with PHP, MySQL, JavaScript, and modern tech stacks.
Highlighted Projects
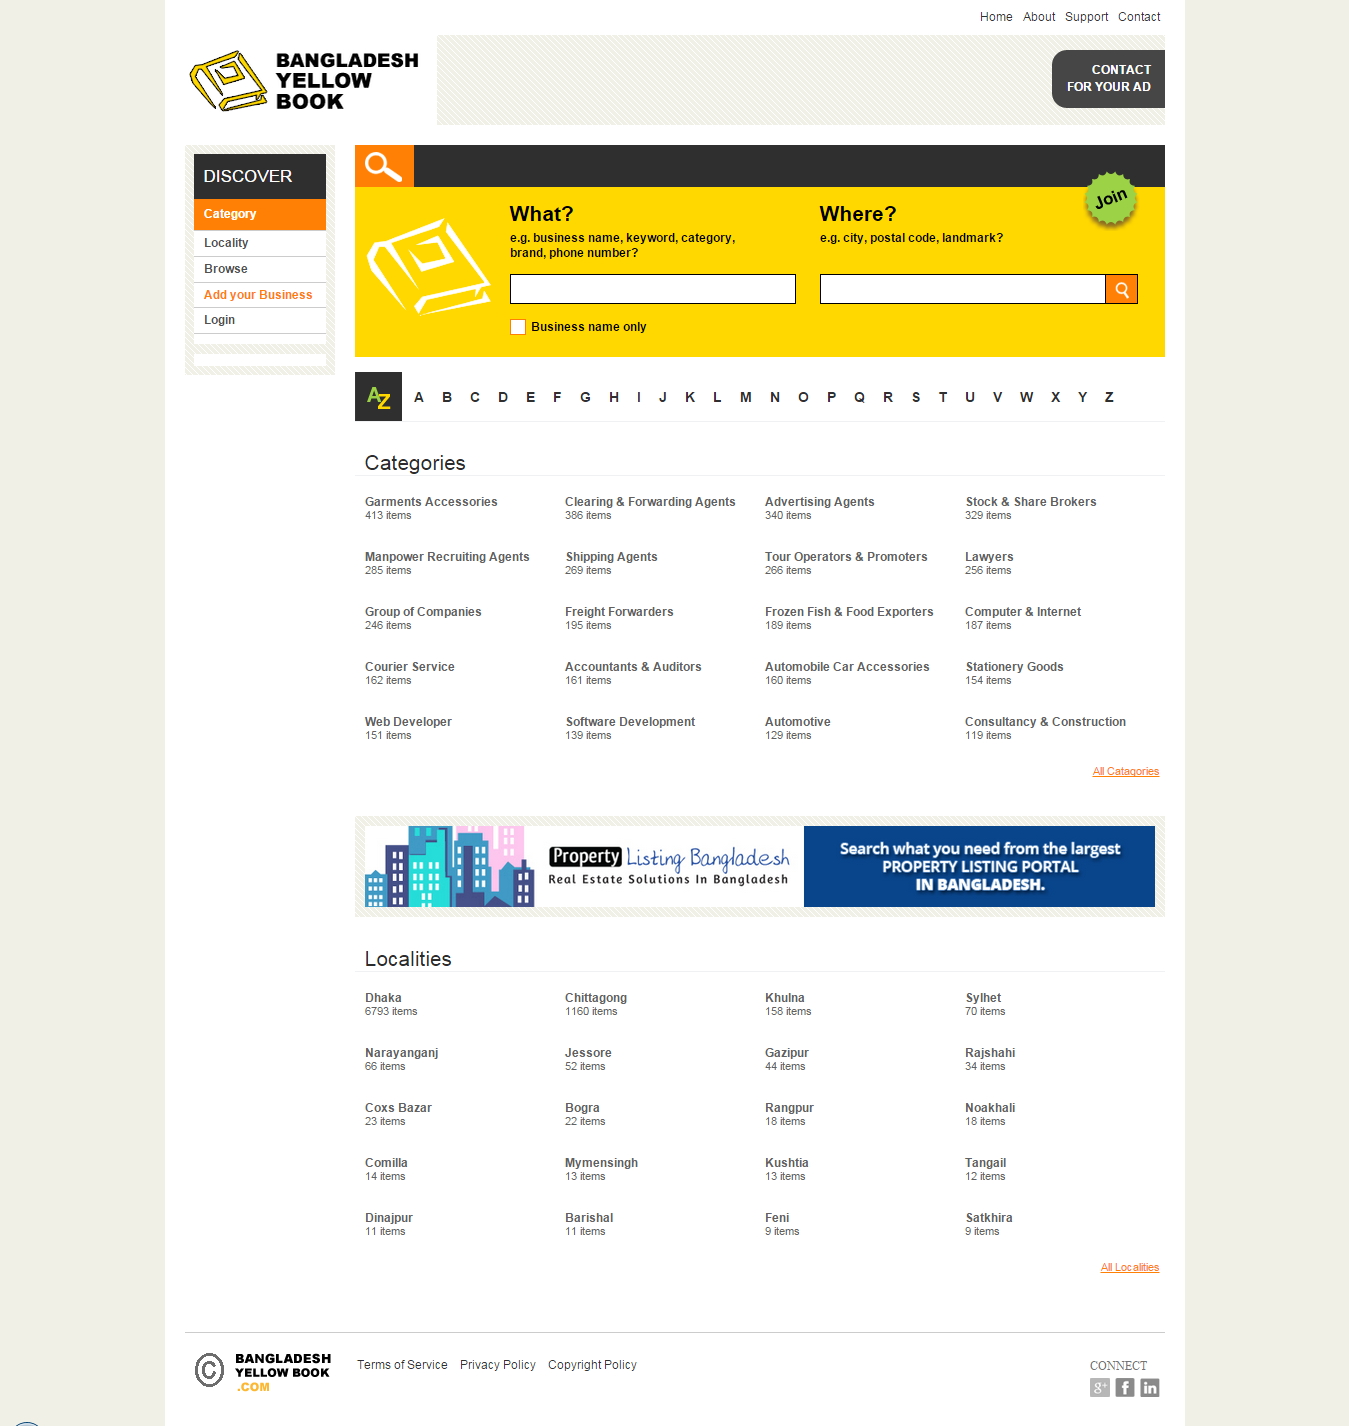
Bangladesh Yellow Book
A yellow pages management website where online visitors can create a profile and submit his/her business information. It has been developed with dropndot yellow data management system called "YellowCMS" which is developed with CakePHP in core.
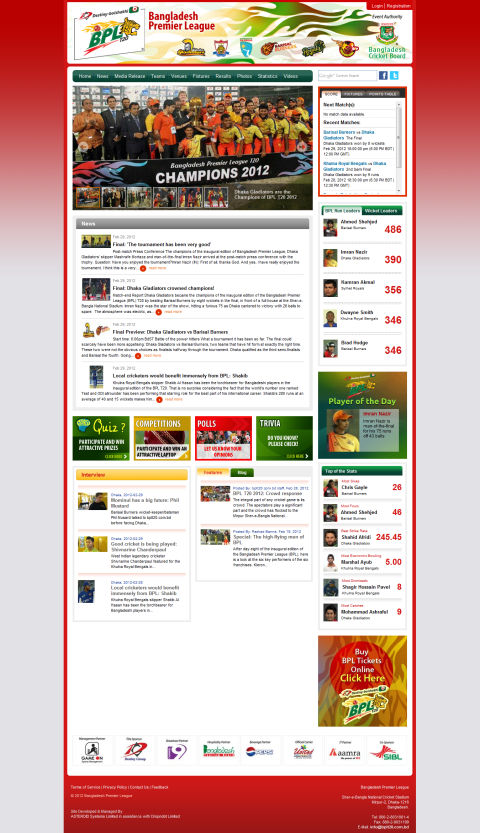
Official Website for Bangladesh Premier League T20
Official Website for Bangladesh Premier League T20 which has been launched before BPL T20 2012 tournament held in Bangladesh.
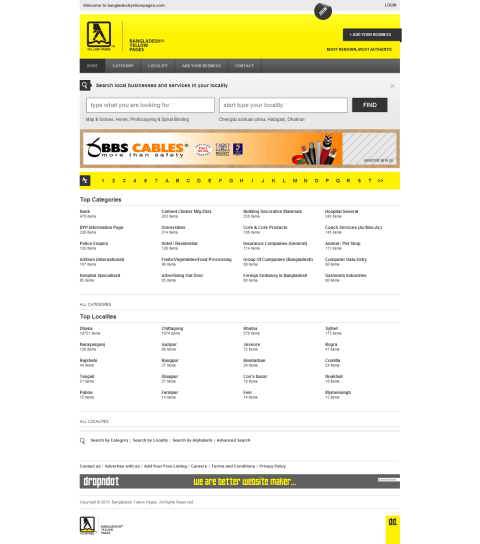
Official website for Bangladesh Yellow Pages
Official Website for Bangladesh Premier League T20 which has been launched before BPL T20 2012 tournament held in Bangladesh.
My Experience
Highlighted Certifications
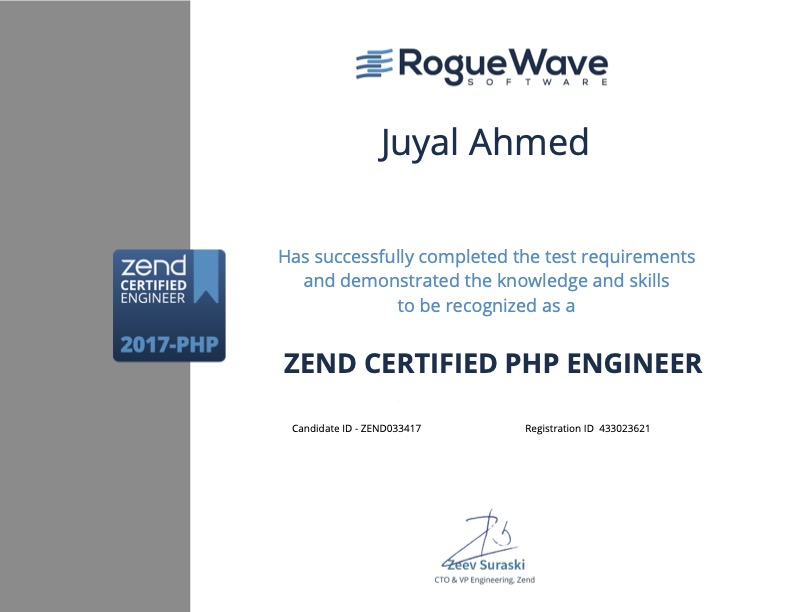
Zend Certified PHP Engineer
Authority: Zend by Perforce
Credential ID: ZEND033417
AWS Certified Developer – Associate
Authority: Amazon Web Services
Credential ID: SBDLME521FF11FS5
Expired Nov 2020
My Dev Principles & Values
Clean & Maintainable Code
I believe in writing code that’s readable, reusable, and easy to maintain — not just for myself, but for others who may work on it in the future.
User-First Mindset
Every line of code I write is with the end-user in mind. Functionality, performance, and experience are always top priority.
Continuous Learning
Technology evolves fast — I make a habit of learning new tools, best practices, and patterns to stay ahead and deliver better software.
Collaboration & Communication
I thrive in open, collaborative teams. In remote or hybrid setups, I aim to stay just a click away — responsive and engaged.
Simplicity Over Complexity
Simple solutions are often the best ones. I avoid unnecessary complexity and favor solutions that are straightforward and easy to understand.
Test-Driven Development
At the last, whenever possible, I rely on tests to ensure the stability and reliability of my code, catching bugs early and iterating with confidence.
Books I Loved
You Don’t Know JS – Get Started
by Kyle Simpson
Opened my eyes to the depth of JavaScript — a perfect gateway to understanding how it really works.
You Don’t Know JS – Scope & Closures
by Kyle Simpson
Demystified one of JavaScript’s trickiest concepts — it transformed how I write and structure code.
Cracking the Coding Interview
by Gayle Laakmann McDowell
One of the best prep books for coding interviews and algorithm practice.
The Software Engineer's Guidebook
by Gergely Orosz
A modern roadmap for growing as an engineer—practical, honest, and packed with hard-earned insights.

Zend Certified Engineer Exam Study Guide (PHP 7.x)
by Rogue Wave Software
A focused and thorough companion that helped me earn my PHP 7 certification.
Zend Certified Engineer Exam Study Guide (PHP 5.x)
by Rogue Wave Software
Solidified my understanding of core PHP concepts and exam strategies.